Developing Windows 8 Metro style applications that consume OData
Phani Raj
The Source code for the sample app is available here ( Download )
You’ll need :
1. Windows 8 Consumer preview and developer tools
2. OData Client library preview for Windows 8 Metro ( Update: Visual Studio 2012 RC has been released and contains an updated version of these assemblies, along with fully-integrated support for Add Service Reference. Install the Ultimate, Professional, or Premium editions on Windows 8 Release Preview to get the update.) .
We’re releasing a preview version of the client libraries for Windows 8 Metro-Style applications to give our users
the ability to create applications that work on Windows 8 . This client library will work with servers
that comply with the OData v1-v3 protocols. In the blog post below we will describe a sample application
we built and is available for download using this client library.
Step Zero is to generate the client types for the Netflix OData Service using the DataSvcUtil.exe tool.
We haven’t updated the “Add Service Reference” gesture in Visual Studio 11 yet, so you’ll have to generate the client
types manually .
Here is how you generate the client proxy types for the Netflix OData Service
Open a command prompt as administrator and navigate to %windir%\Microsoft.NET\Framework\v4.0.30128
Run this command :
DataSvcutil.exe /uri:http://odata.netflix.com/Catalog/ /DataServiceCollection /Version:2.0
/out:netflixClientTypes.cs
Copy the generated netflixClientTypes.cs file into the application you create in the next step.
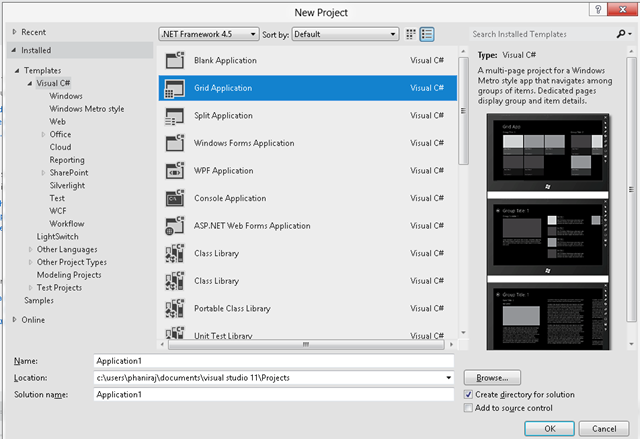
Open Visual Studio 11 > “Create new Project” >”Grid Application”
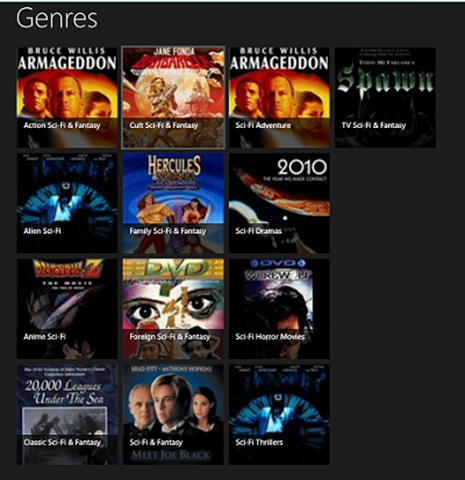
“Genres” view
To build this view, we will add an “Items Page” and customize the Item template to display
details specific to the “Genre” type in the client types such as “Name”.
We further create a custom property called “TileTitle” which is the first title in the genre,
to see how this is implemented, please consult the ODataSampleViewModel.cs file.
When a user selects a “Genre” we will set the “SelectedGenre” property on the view model
and navigate to the “Titles” screen shown below.
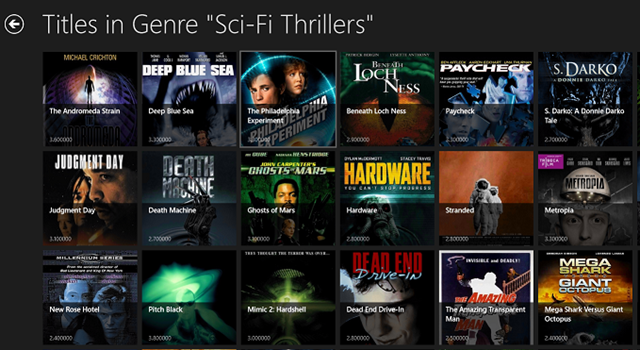
“Titles In Genre” view.
To create this view, we will add another “Items Page” and customize the item template to display details specific to the “Title”
type in the generated client types. To load these titles, we track the selected Genre and call the “LoadTitlesForGenre”
method on the view model with the selected genre.
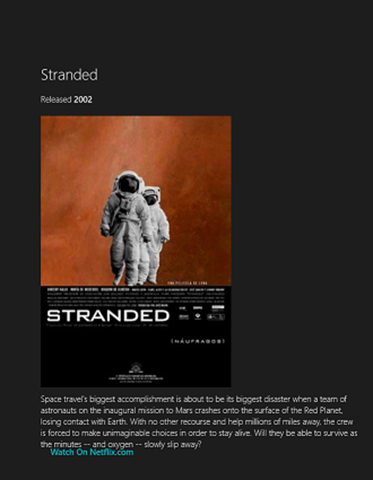
When a user selects a Title, we navigate to the “TitleDetails” view shown below, with the selected title as a navigation parameter.
“Title Details” view :
To create this view, we add a “Basic page” and customize the layout to show the above content
from the selected title which is passed in as a navigation parameter.
Phani Raj,
Software Design Engineer 2,
OData / WCF Data Services


